If you’ve ever sat with a pile of raw fleece and wondered how to carded wool without turning it into a tangled mess, you’re not alone. I card wool regularly as part of my slow, hands-on fiber routine, and I’ve learned that carding isn’t about force or fancy tools. It’s about rhythm, patience, and building a habit that feels natural once you practice it a few times.
Carding wool prepares fibers for spinning or felting by cleaning, opening, and aligning them just enough to stay airy and warm. I’ll walk you through how I do it in real life, using simple steps that work whether you’re brand new or getting back into fiber after a break.
Why does carding wool matter before spinning or felting?
When I first started working with wool, I skipped proper carding and paid for it later with lumpy yarn and uneven texture. Carding matters because it turns raw, clumped fibers into something workable and forgiving.
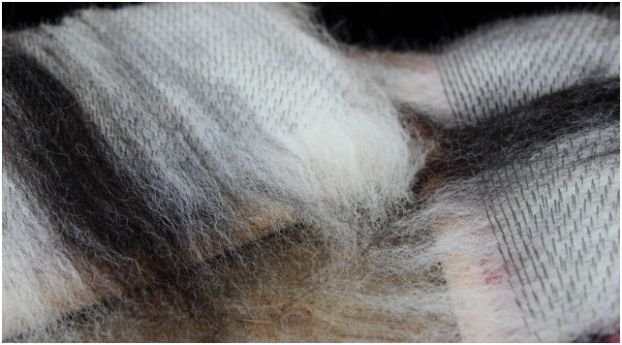
Carded wool holds air. That trapped air creates warmth and softness in finished yarn, which makes carding perfect for cozy sweaters, hats, and blankets. Unlike combing, carding keeps fibers slightly disorganized, which helps yarn feel fluffy instead of sleek.
I also like carding because it lets me slow down. It’s one of those tactile routines that fits nicely into a quiet evening. Ten minutes of carding beats scrolling on my phone every time.
What tools do I actually use to card wool?
I don’t overcomplicate tools, and you don’t need to either. I started with basic hand carders and still reach for them most days.
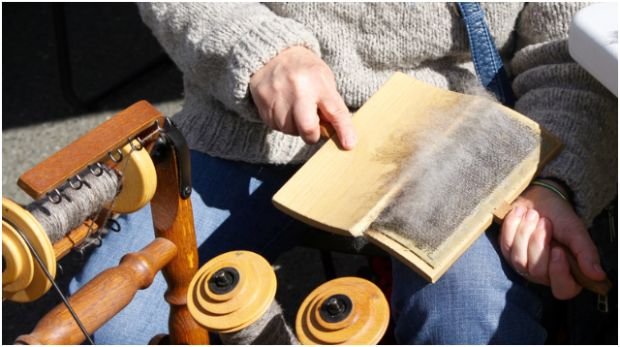
Hand carders look like wooden paddles with wire teeth. For most wool, I stick with medium-density teeth. Finer wool needs higher tooth density, while coarser wool works fine with lower density.
When I’m experimenting or traveling, I sometimes use pet slicker brushes. They’re smaller and slower, but they teach the same hand motion. For big batches, I borrow a drum carder. It saves time and produces wide batts, but it doesn’t replace the hands-on feel of hand carding.
How do I prepare wool before carding it?
Carding starts long before the carders touch the fiber. Clean wool makes everything easier, and dirty wool ruins tools fast.
I wash raw wool in hot water, usually between 140 and 180°F, with mild dish soap. I soak it for about 15 minutes, then rinse gently until the water runs clear. I never agitate or scrub because that invites felting.
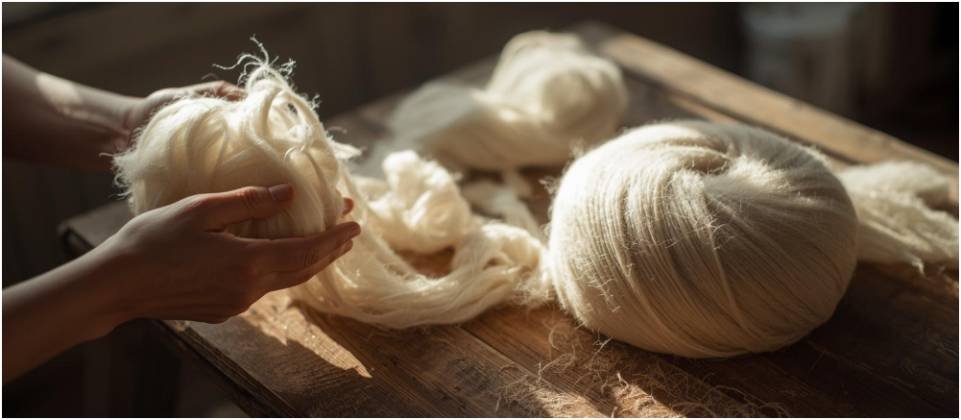
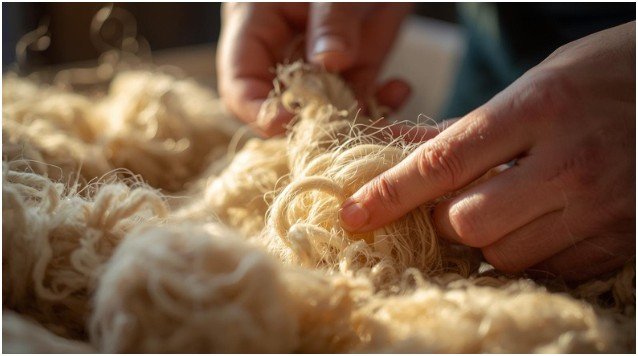
Once the wool dries completely, I tease it apart with my fingers. This step matters more than people realize. Picking opens the fibers, removes leftover plant bits, and makes carding smooth instead of frustrating. I treat this like stretching before exercise. Skip it, and everything feels harder.
How do I card wool using hand carders step by step?

This is the part people overthink. I keep it simple and repeat the same motion every time.
Step 1: Load the wool
I place a thin layer of wool on one carder, teeth facing up. I never overload. If I can’t see the teeth, I’ve added too much.
Step 2: Brush gently
I hold the loaded carder steady and brush across it with the second carder using shallow strokes. I start at the tips of the fiber and work toward the handle. I use light pressure and let the teeth do the work.
Step 3: Transfer the fiber
After a few strokes, the fiber moves to the working carder. I switch hands and repeat. I usually transfer fibers back and forth two or three times until they look airy and even.
Step 4: Roll the rolag
When the fiber looks fluffy and uniform, I lift it gently and roll it into a loose tube called a rolag. I never pack it tightly. Air equals warmth.
How does a drum carder change the process?
When I process large amounts of wool, I use a drum carder to save time and my wrists. The goal stays the same, but the motion changes.
I feed small amounts of wool onto the rotating drum while turning the handle slowly. I build layers gradually instead of dumping fiber all at once. Once the batt reaches a consistent thickness, I remove it in one smooth sheet.
Drum carders shine for volume and blending fibers, but I still hand card small batches. Hand carding teaches you how wool behaves, and that skill transfers everywhere.
What mistakes did I make early on (so you don’t have to)?

I learned these lessons the hard way.
I overloaded carders and wondered why fibers clumped. I pressed too hard and damaged wool. I changed brushing direction mid-stroke and created tangles. All of those mistakes disappear once you slow down.
Carding works best when it feels boring in a good way. Same motion. Same direction. Light hands. If something feels stuck, stop and reset instead of forcing it.
Carding vs combing: which one do I choose?
I choose carding when I want warmth, loft, and softness. I choose combing when I want smoothness and strength.
Here’s a quick comparison that helps me decide:
| Feature | Carding | Combing |
| Fiber alignment | Loosely mixed | Perfectly parallel |
| Yarn type | Woolen | Worsted |
| Feel | Soft and airy | Smooth and dense |
| Best for | Warm garments | Durable items |
Most of my everyday projects use carded wool because I like how forgiving it feels on the spindle.
How to carded wool as a repeatable routine
I treat carding like a habit, not a task. I keep my tools nearby, work in short sessions, and stop before my hands get tired.
Five to ten minutes a day builds muscle memory fast. Over time, you stop thinking about technique and start enjoying the rhythm. That’s when carding becomes relaxing instead of intimidating.
FAQs about how to carded wool
1. How long does it take to card wool by hand?
It depends on the wool and your pace, but I usually card enough fiber for one rolag in about five minutes. Early on, it took me longer because I hesitated and adjusted constantly. Speed comes naturally once your hands learn the motion. I focus on consistency instead of rushing because rushed carding almost always leads to uneven fiber.
2. Can I card wool without special tools?
Yes, you can. Pet slicker brushes work well for learning the motion, especially if you’re curious but not ready to invest. They’re smaller, so the process takes longer, but the results still work for spinning or felting. I started with slickers and upgraded once I knew I enjoyed the process.
3. Why does my carded wool look lumpy?
Lumps usually come from overloading carders or pressing too hard. Wool needs space to open up. I fix lumps by teasing the fiber again with my fingers and carding smaller amounts. Once you lighten your touch, the problem usually disappears quickly.
4. Is carded wool better for beginners?
I think so. Carded wool forgives uneven drafting and helps new spinners relax. Worsted preparations demand precision, which can feel frustrating early on. Carded wool lets you focus on flow instead of perfection, which builds confidence faster.
Carding vibes only: where skill meets calm hands
Carding wool doesn’t reward force or speed. It rewards consistency and patience. Once I stopped trying to “master” it and started treating it like a quiet routine, everything clicked.
If you remember one thing from this guide, let it be this: use less wool, lighter pressure, and repeat the same motion every time. The fibers will meet you halfway.
That’s how to carded wool in real life—no stress, no rush, just steady hands and good fiber.